Mexican · Breakfast · Lunch
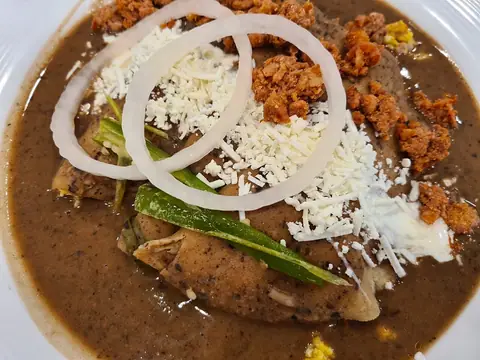
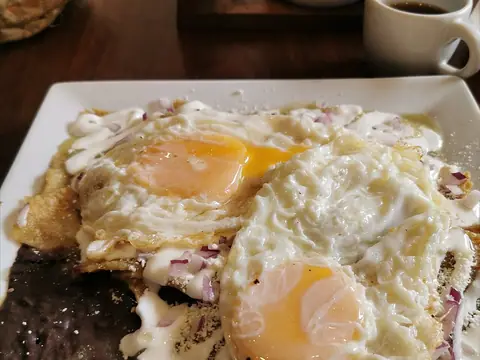
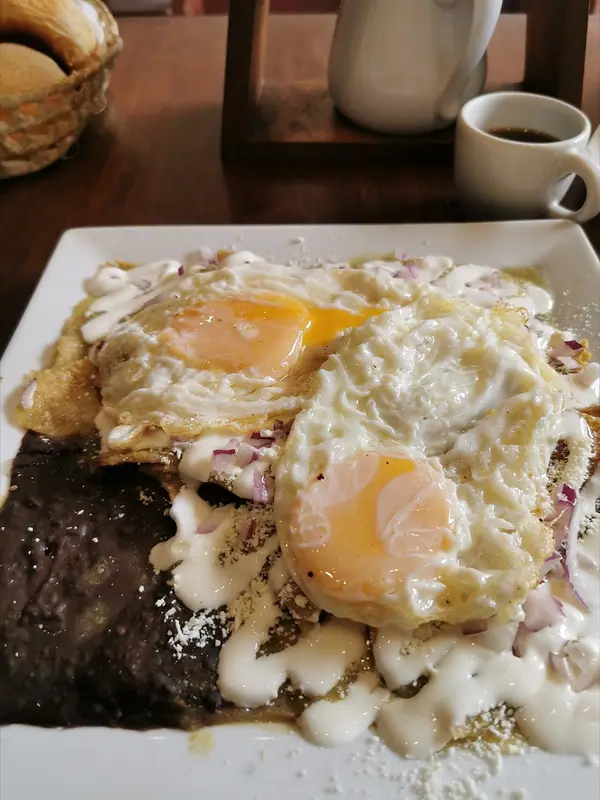
Chilaquiles Verdes with Baked Tortilla Chips
Chilaquiles verdes
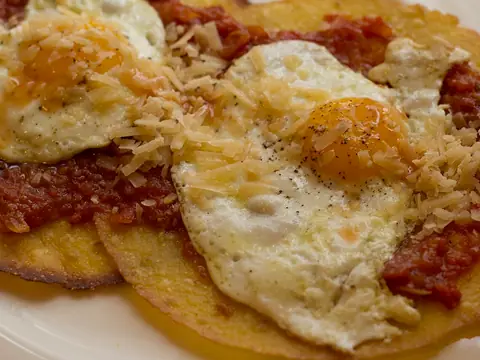
Crisp oven-baked corn tortilla chips tossed in a bright, tangy homemade tomatillo salsa, then crowned with a runny fried egg, crumbled queso fresco and a drizzle of cream. A lighter take on the beloved Mexican brunch classic.
- Prep
- 15 min
- Cook
- 30 min
- Total
- 45 min
- Serves
- 4
Calories come from: Carbs 40% · Fat 44% · Protein 16%
Track it in BerryFit and see how it fits your own daily target. Get the app ›
Ingredients
For 4 servings- 8 (15 cm / 6 in)208 gcorn tortillas
- 1 tbsp, divided14 golive oil
- about 15 medium (or 8 large)500 gtomatillos, husked and rinsed
- 212 gserrano chiles
- 1 medium110 gwhite onion
- 2 cloves6 ggarlic
- 3/4 cup loosely packed, divided15 gfresh cilantro
- about 1 litre, drained off and discarded1,000 gwater for simmering the vegetables (optional)
- 1/2 cup120 gwater
- 1 tsp6 gsalt
- 4 large200 geggs
- 1/2 cup60 gqueso fresco, crumbled
- 4 tbsp60 glight sour cream or Mexican crema
- 1/275 gavocado, sliced (optional)
- 230 gradishes, thinly sliced (optional)
Steps
- 1
Heat the oven to 200 °C (400 °F) and line two baking sheets with parchment.
- 2
Brush the tortillas lightly on both sides with 2 tsp of the olive oil, stack them and cut into 6 wedges each.
- 3
Spread the wedges in a single layer and bake for 12-15 minutes, turning once, until crisp and golden. Sprinkle with a pinch of the salt.
- 4
Meanwhile, put the tomatillos, serranos, half the onion and the garlic in a saucepan, cover with the simmering water, bring to a boil and simmer for 10 minutes until the tomatillos turn olive green and soft.
- 5
Drain the vegetables, discarding the cooking water.
- 6
Blend them with 1/2 cup cilantro, the 1/2 cup fresh water and the remaining salt until smooth.
- 7
Pour the salsa into a large skillet and simmer over medium heat for 5 minutes until slightly thickened.
- 8
Thinly slice the remaining onion and chop the remaining cilantro for topping.
- 9
In a non-stick pan, heat the remaining 1 tsp olive oil over medium heat and fry the eggs for 3-4 minutes until the whites are fully set.
- 10
Add the baked chips to the simmering salsa and toss for 1-2 minutes, just until coated and slightly softened.
- 11
Divide the chilaquiles among four plates and top each with a fried egg.
- 12
Finish with queso fresco, a drizzle of sour cream, sliced onion, cilantro, and avocado and radishes if using. Serve immediately.
Swaps, storage and make-ahead
Swaps
- For a dairy-free version, skip the queso fresco and sour cream and add extra sliced avocado and a squeeze of lime instead.
- Swap the light sour cream for plain nonfat Greek yogurt for a tangy, thicker drizzle.
- Use jalapeños instead of serranos if you want a milder salsa or can't find serranos.
- To save time, use a jar of store-bought salsa verde in place of the homemade tomatillo salsa.
Storage
Chilaquiles are best eaten fresh, as the chips turn soggy and the eggs don't reheat well, so don't freeze the assembled dish. Refrigerate leftover salsa within 2 hours in a covered container for up to 3 to 4 days and reheat it until steaming hot.
Make ahead
Make the tomatillo salsa up to 3 days ahead and keep it in the fridge, and bake the chips a day ahead and store them in an airtight container at room temperature. Reheat the salsa until steaming, then toss in the chips and fry the eggs just before serving.
Nutrition values are for the recipe as written.
Track this in BerryFit
Log Chilaquiles Verdes with Baked Tortilla Chips in one tap and see how it fits your remaining calories for today.
Or ask Coach Berry to change it
Allergens and nutrition
Contains: EggsMilk
Check the labels of packaged ingredients for allergens and suitability for your diet.
Full nutrition
| Per serving (328 g) | Per 100 g | |
|---|---|---|
| Calories | 333 kcal | 102 kcal |
| Protein | 14.1 g | 4.3 g |
| Carbohydrates | 33.9 g | 10.3 g |
| of which sugars | 7.7 g | 2.3 g |
| Fiber | 5 g | 1.5 g |
| Fat | 16.5 g | 5 g |
| of which saturated | 5.1 g | 1.6 g |
| Sodium | 909 mg | 277 mg |
Nutrition is calculated from USDA FoodData Central data and may differ from what you cook.